Install through the app
YoLink devices are added and configured exclusively through the YoLink mobile app.
A practical field guide for deploying YoLink sensors consistently, preserving device identity, and collecting dependable HVAC performance data.
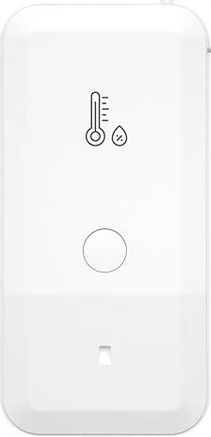
01 · Deployment fundamentals
YoLink is intentionally simple in the field, but device recovery and useful data depend on disciplined setup.
YoLink devices are added and configured exclusively through the YoLink mobile app.
Signals travel through ductwork, block walls, and floors. Hubs may overlap, and devices automatically seek the strongest available hub.
Connect each hub to building Wi-Fi for the simplest installation, or use a wired Ethernet connection.
A device removed from an account can only be re-added with its QR code. Keep a backup photograph for every device.
02 · Device identity
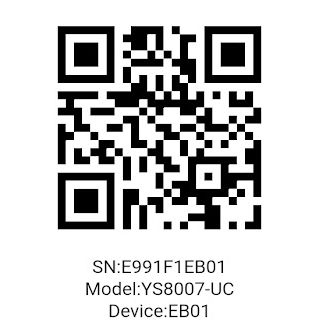
YoLink depends on the device QR image to add—or later re-add—a device. Without the image, reconfiguration is not possible.
Take and retain a clear phone photograph of the QR code and serial number.
Include the location and last four hexadecimal serial characters—for example, Room 401 - EB01.
Update the location name, but continue to retain the final four serial characters.
03 · Sensor setup
Configure the app for monitoring without creating unnecessary email traffic or compromising factory calibration.
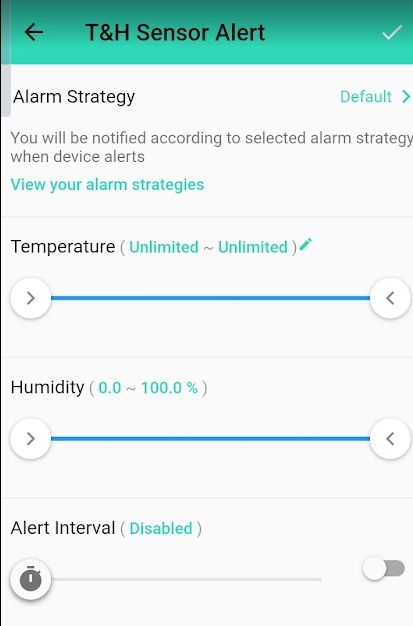
Set temperature and humidity limits to their minimum and maximum values, then leave Alert Interval disabled.
The built-in reporting algorithm prioritizes battery life. Press the sensor’s update button when an immediate reading is necessary.
Recalibrate only against a valid reference. Calibration can be completed remotely through the correct building account.
Remaining battery life is not shown in the YoLink app; use Home Assistant for that status.
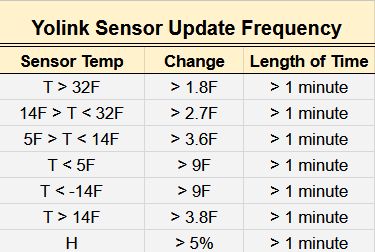
Reporting frequency varies with the size of the temperature or humidity change. Use the physical update button for immediate commissioning checks.
04 · Evaluation coverage
Begin with dependable supply-air temperature. Add return-air and mixed-air measurements when the evaluation needs greater diagnostic confidence.
A single sensor mounted inside the supply diffuser core provides a reasonable RTU performance evaluation.
Add return-air or representative space temperature to better distinguish unit performance from changing space load.
Add mixed-air temperature when roof access is available to evaluate outside-air and economizer behavior.
Roof access is generally only required for MAT sensors and second-stage control relays. Second-stage relays may support demand management and utility demand-response strategies.
05 · Field best practices
Consistent documentation is part of the sensor installation. Complete the record while equipment, room details, and thermostat information are in front of you.
Open the original installation presentation